Image Ribbons
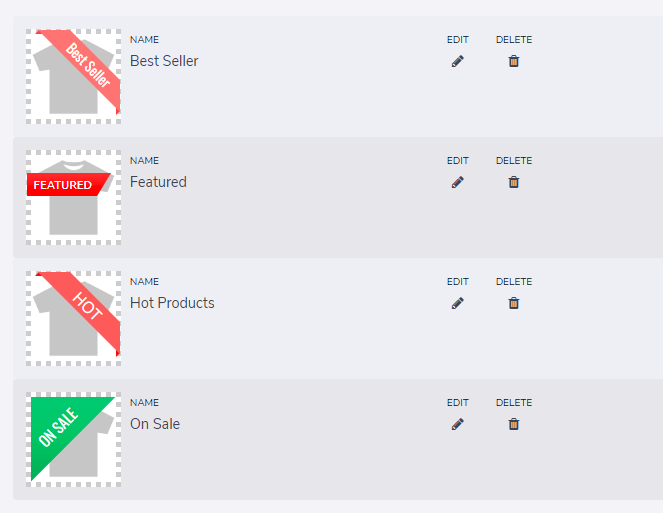
To create an image ribbon go to Products -> Image Ribbons in the Gahela admin. The module ships with a few presets that you can edit, or you can create a new image ribbon in the ribbon builder.

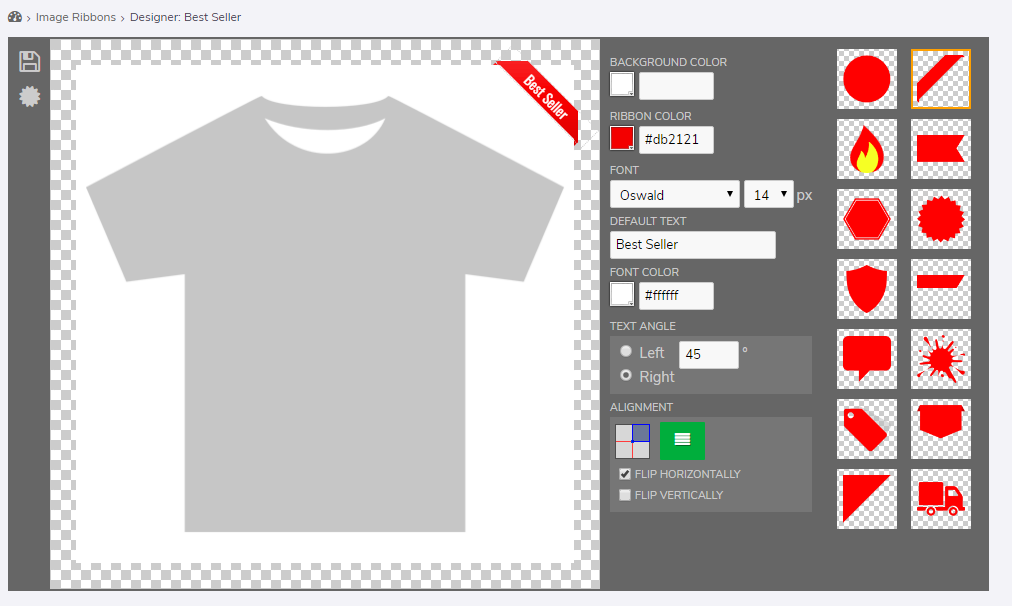
Here you can delete an existing ribbon, edit an existing ribbon, or create a new ribbon. Clicking the editor or creating a new ribbon will open the Ribbon Builder interface:

In the builder you can create an preview an image ribbon. The interface is simple to use. The options are:
- Background Color - Choose a background color for the builder interface. This is not saved with an image ribbon.
- Ribbon Color - Sets the color of the ribbon
- Font - Sets the font of the ribbon
- Default Text - Sets the default text of the ribbon. A module can overwrite this when assigning a ribbon to a thumbnail.
- Text Angle - Sets the angle of the text.
- Alignment. You can drag the blue box to move the ribbon around, or you can grab the ribbon directly in the interface. Clicking the green box will auto align the ribbon. The horizontal and vertical flip will flip the selected image to place this on different areas on the image.
Creating A Ribbon
To create a new ribbon go to Products -> Image Ribbons and click the Create Ribbon button. This will display a form to assign a name to the ribbon. The name is not displayed on the website, it is just to describe the ribbon. Once saved the builder interface will be displayed.
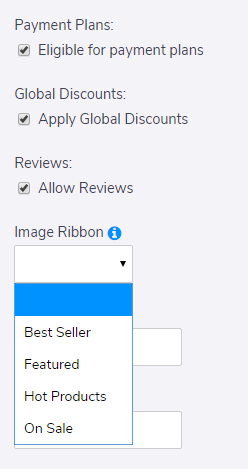
Here you can select the image, font, and align your ribbon. When you are happy with the look, click the save button and it will be available in the product edit pages to assign to a product:

